Thanks to a recent vBrownbag session with Chris Colotti on Cloudflare Zero Trust, I decided to write up how I use Zero Trust Tunnels instead of a VPN to access my homelab resources.
Cloudflare Zero Trust encompasses a couple different technologies, but this post will focus only on the use of Tunnels. Previously, my homelab remote access was using an L2TP vpn into my router, which was then replaced by wireguard into a VM hosted within my lab. Both of these options required me to open a port in my router’s firewall and hope that this port wasn’t blocked on whatever public network I was on! (Many times I’ve come accross networks that block all common vpn ports outbound, or simply all ports but 53/80/443 outbound).
The final solution is now Cloudflare Zero Trust Tunnels. Tunnels can be used 2 ways: a direct tunnel to a particular hosted application via an external URL (like what Chris posted ), or simply access to an entire subnet, which is what I use.
To start, login to Cloudflare and click on Zero Trust on the left navigation tree. The Zero Trust page will open in a new window. Follow the onboarding steps to create a team name - in my case: tsmithco.cloudflareaccess.com. The Zero Trust Free plan is what I use, but you will still need to enter credit card information - but no charges will be made.
Then, go to Settings. We will start by configuring the device enrollment access, so we restrict who can access what via the Warp client.
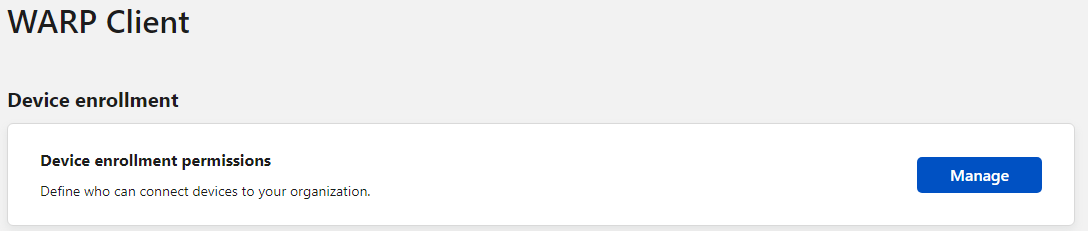
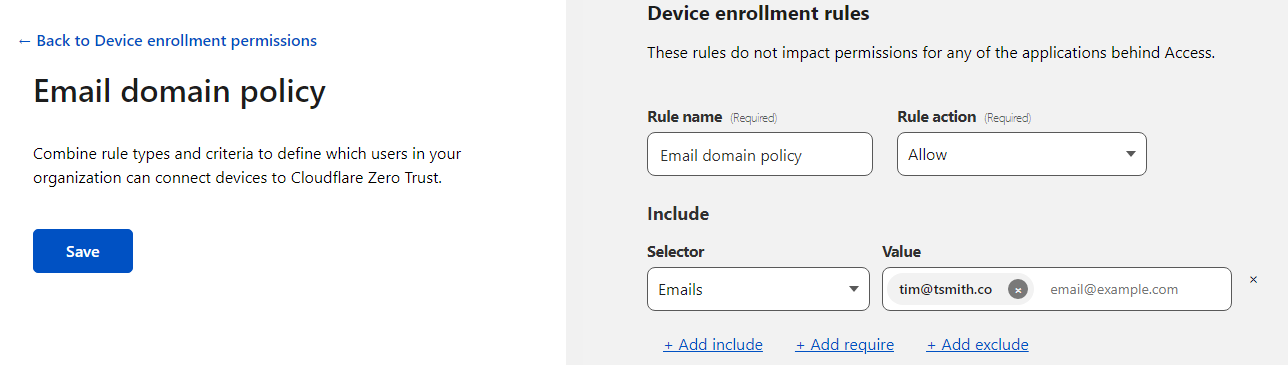
Click on Manage under Device Enrollment Permissions. I created a rule ( Add a rule) to allow only my email address to enroll, by setting Selector to Emails and Value to my email address.
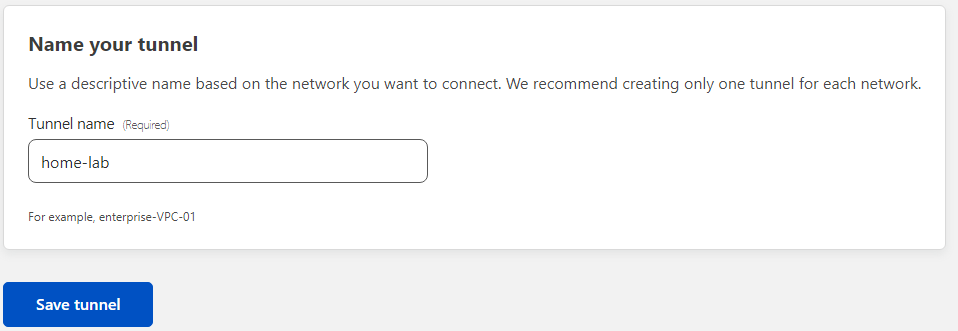
Once that’s Saved, go back and on the navigation tree, select Access > Tunnels. Let’s choose to Create a tunnel. Give the tunnel and name and click Save Tunnel.
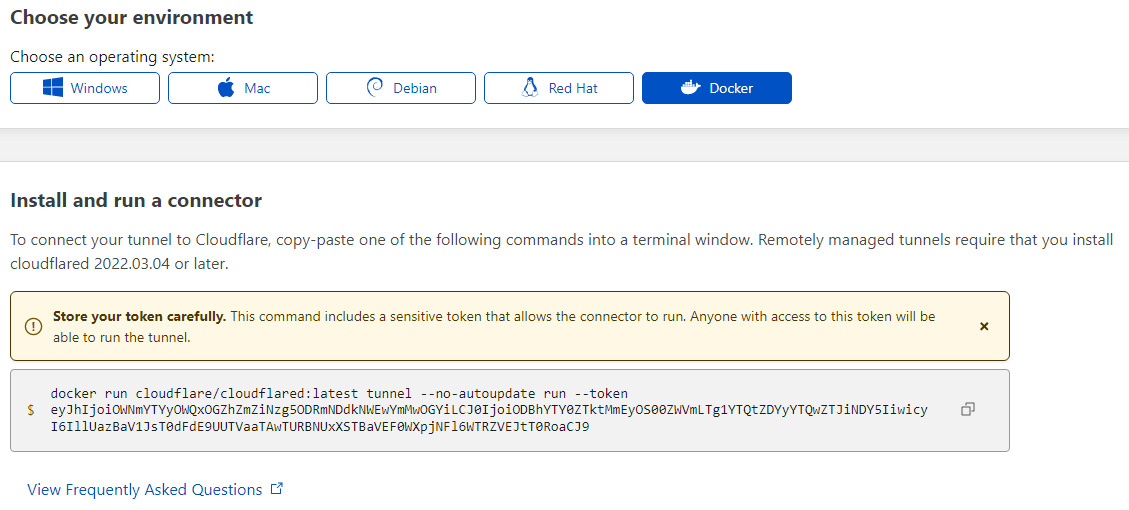
The connector is the piece that will live inside my homelab network that makes the connection out to cloudflare, allowing cloudflare to “tunnel” the client into the lab through their network. In my case, using Docker on my Synology was the easiest way for a tunnel connector to live and stay online. Select Docker from the list to see the command that will run inside the container. Yes, I’ve already revoked this token :)
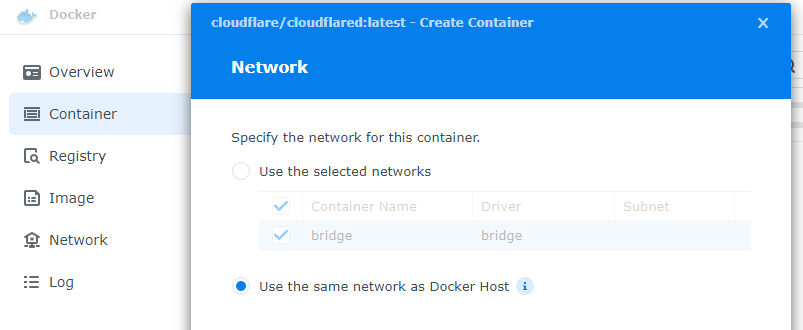
Now it’s time to go get this up and running in Docker. In my case, that means opening the Docker manager inside of Synology and downloading cloudflare/cloudflared:latest image, and then creating a new container. This new container will use the same network as my nas, instead of bridging.
I left the name default, but did select auto-restart. Then we will go into Advanced Settings, and Execution Command. We are going to paste the contents from the cloudflare connector config, but will REMOVE the “docker run cloudflare/cloudflared:latest” portion. So in the Command area, I pasted the following and clicked Save.
tunnel --no-autoupdate run --token eyJhIjoiOWNmYTYyOWQxOGZhZmZiNzg5ODRmNDdkNWEwYmMwOGYiLCJ0IjoiODBhYTY0ZTktMmEyOS00ZWVmLTg1YTQtZDYyYTQwZTJiNDY5IiwicyI6IllUazBaV1JsT0dFdE9UUTVaaTAwTURBNUxXSTBaVEF0WXpjNFl6WTRZVEJtT0RoaCJ9
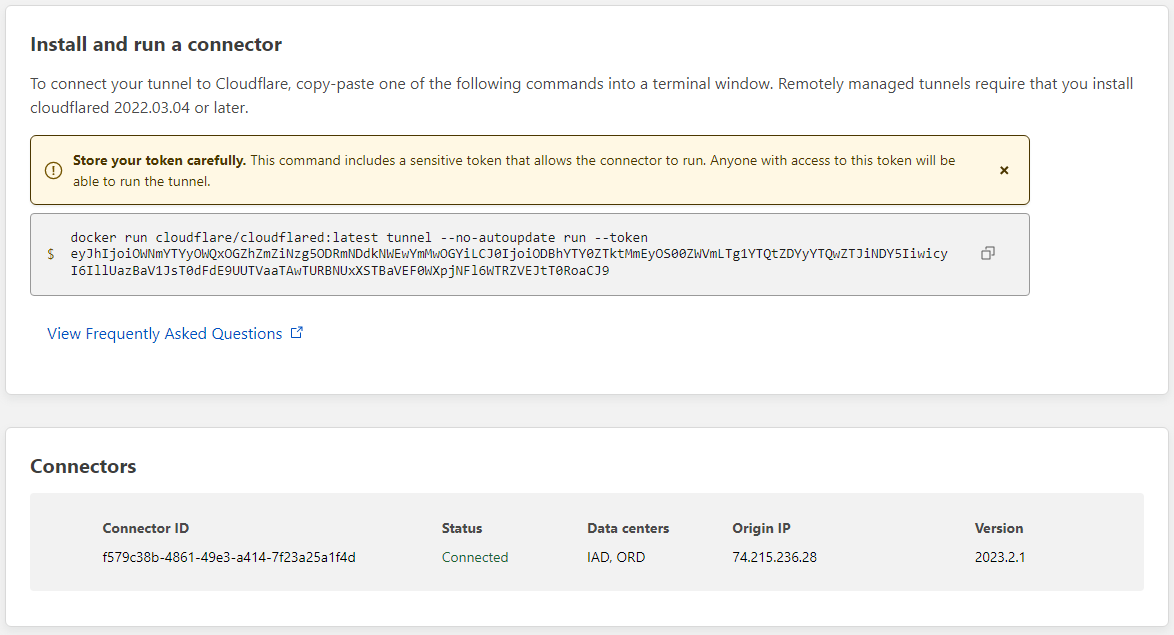
Then, I simply continued the new container wizard by clicking next, next, finish and made sure to allow the container to run. At this point, we should see the connector show up in our cloudflare tunnel connector config:
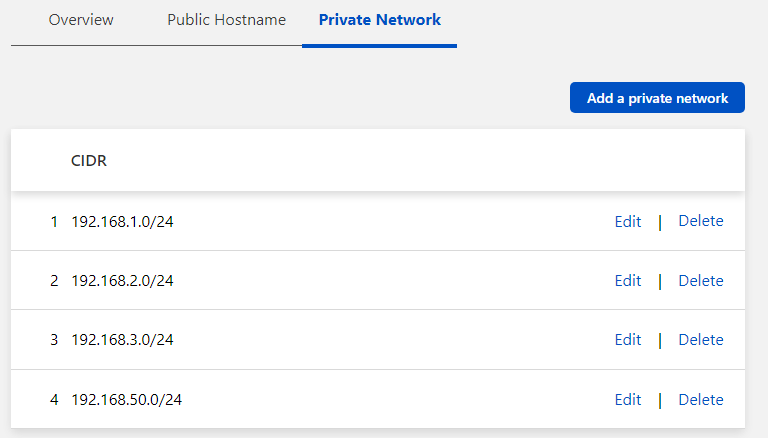
Click on Next to get to the route tunnel section, and choose the Private Networks tab. I input one of my lab’s subnets and chose to Save home-lab tunnel.

But, I have more than 1 subnet, and the initial config won’t allow you to enter more than one. So after it’s saved, click on Configure next to your newly created Tunnel, and select Private Networks again. Choose to Add a private network and save each as needed.
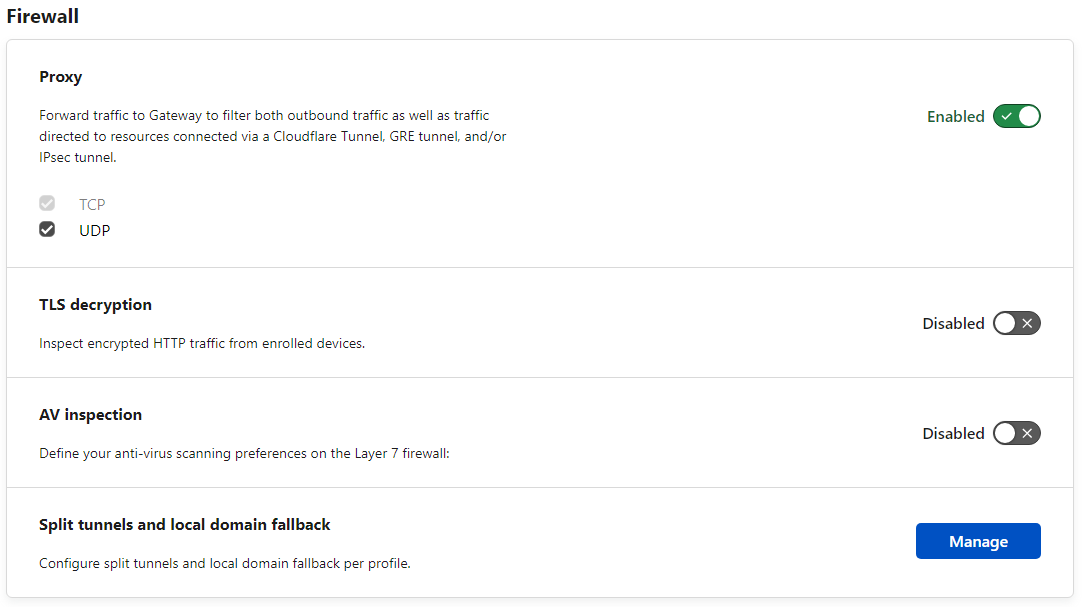
Last under Settings and Network, click to enable Proxy under the Firewall section.
That’s all that’s required on the Cloudflare side! The only thing left to do is to download the client. For Windows, this is the WARP client. for iPad/iPhone, download the 1.1.1.1 app from the appstore. Download WARP · Cloudflare Zero Trust docs
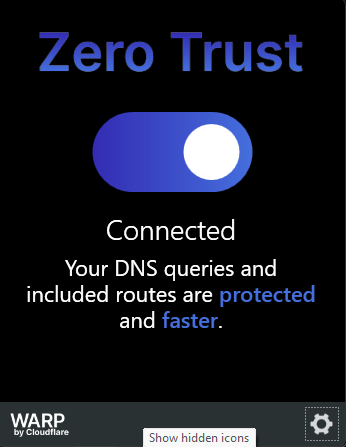
The warp client is normally used to route your traffic more securely by goin through Cloudflare - but it also acts as the Tunnels client. After Warp is installed and running, click on it’s Settings icon, and click Preferences.
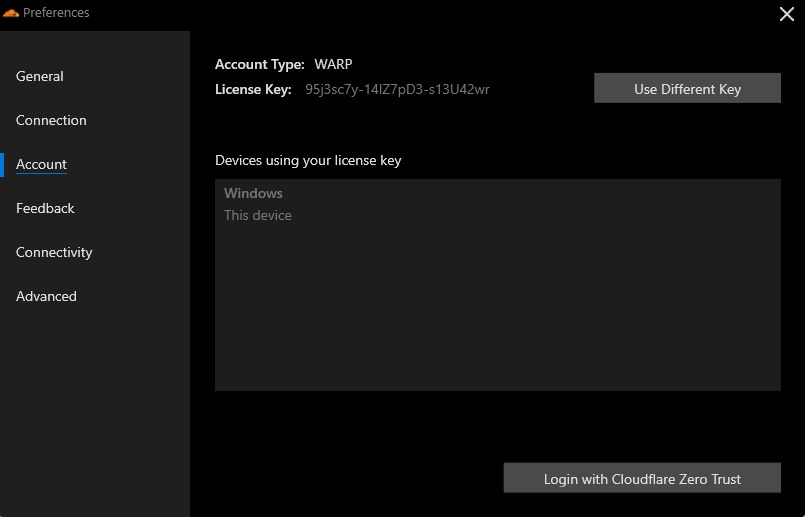
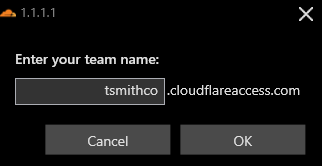
Under Account, select the Login with Cloudflare Zero Trust. Click through until you get prompted to enter your team name. Enter your team name here and click OK.
A new window will open up, prompting you to authenticate. Enter your email and recieve a one time code to complete the setup. The warp client is now configured and there is remote connectivity to the homelab without opening any ports!